“Eat your greens,” they say, which is good advice. Greens are nutritious and rich in vitamins A, C, E, and K. They supply necessary minerals to the diet, such as iron, calcium, magnesium, and potassium. They are an excellent source of fiber and antioxidants. Greens are also low in carbohydrates. The perfect food, greens are easy to grow outdoors in the spring, summer, and fall. But what about winter? How does the gardener ensure a steady supply of this nourishing food during the coldest months of the year?
Introducing Microgreens
Without a greenhouse, growing produce during the winter is nearly impossible in many parts of the country. The exception to the rule is microgreens!
Microgreen Advantages
- Super Nutritious
Miniscule microgreens pack a powerful nutritional punch in a small package. - Space Saving
Their diminutive stature makes them perfect for indoor growing. - Convenient
They may be grown right in your kitchen! - Easy to Grow
Growing microgreens requires no previous gardening experience. - Quick Growing
Turnaround time is generally 1 – 2 weeks. - Cost Effective
Expensive to buy at the grocery but inexpensive to grow at home.
Selecting Microgreens
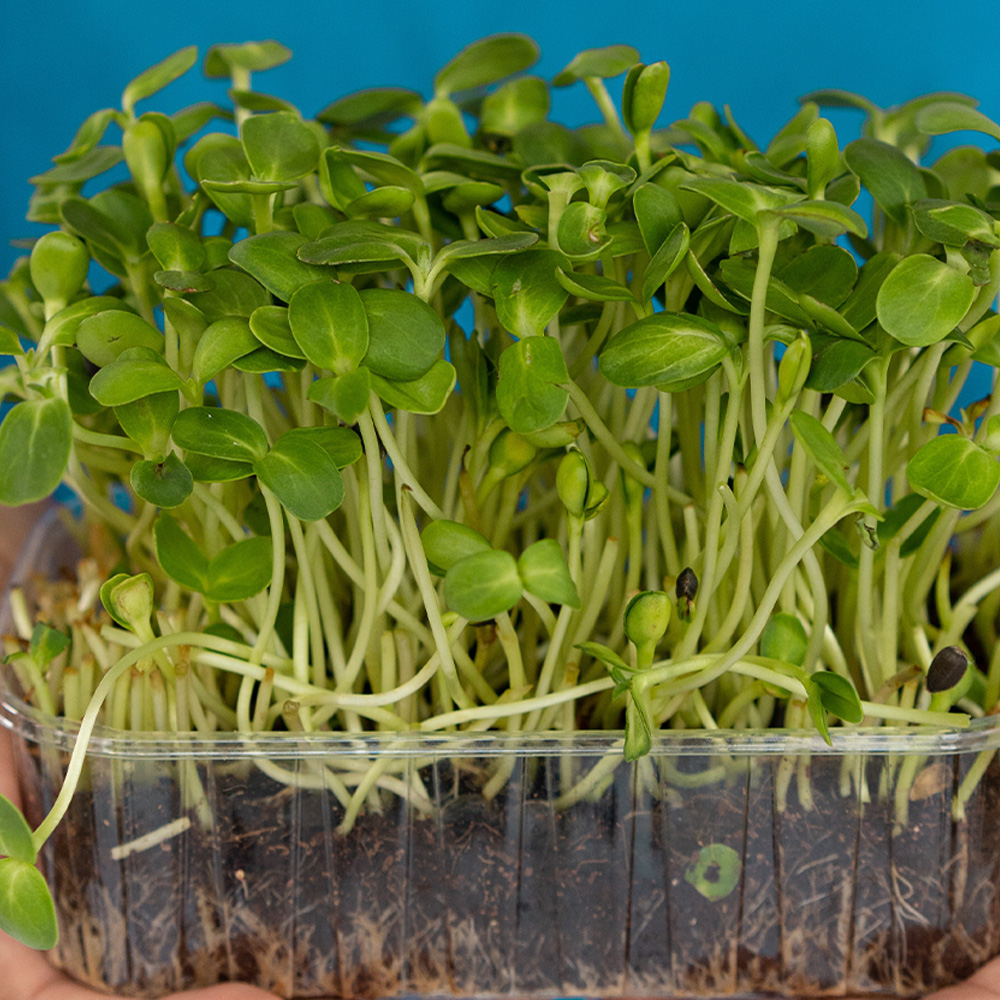
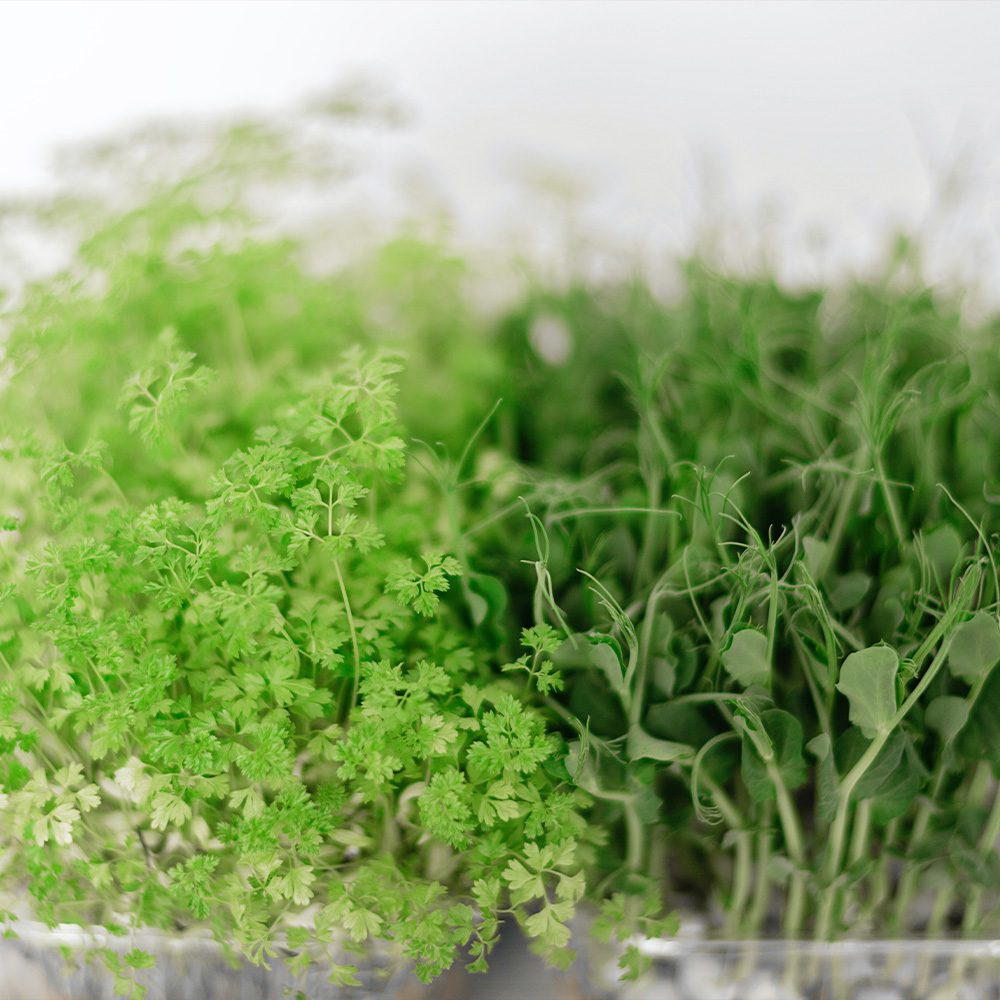
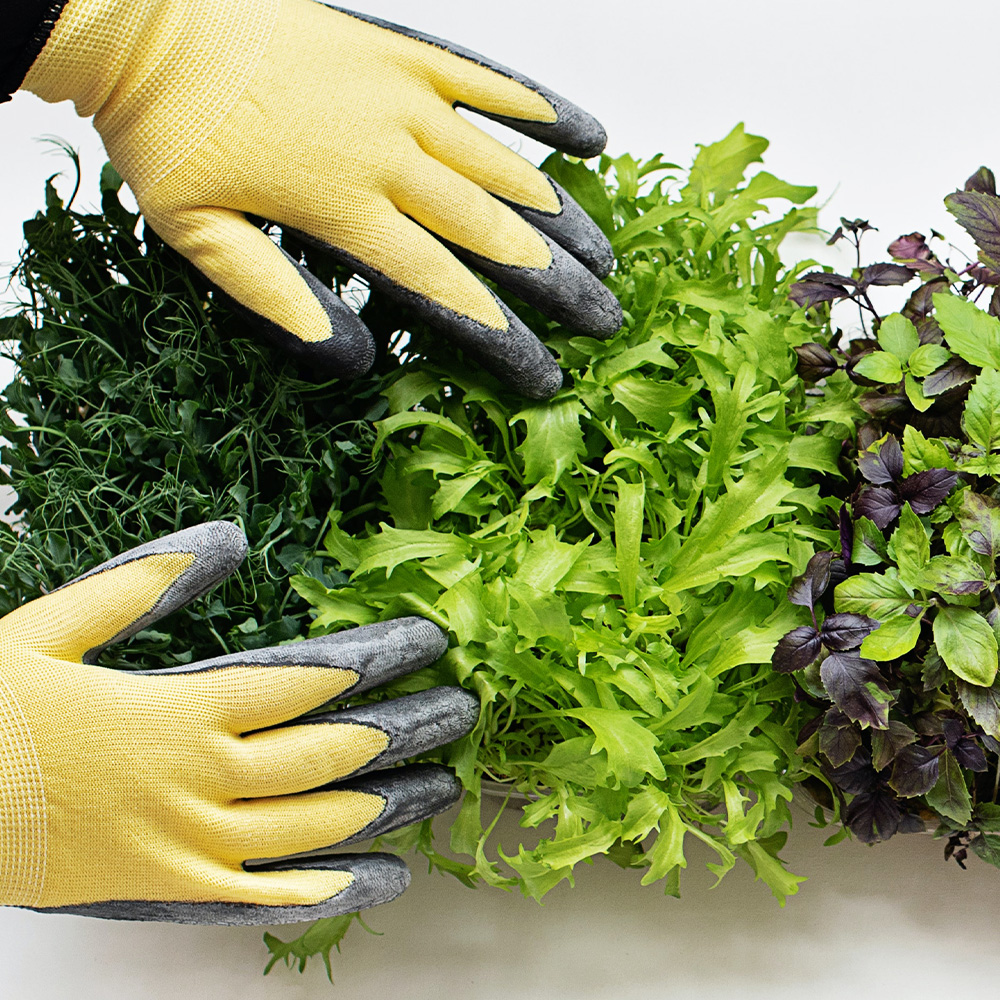
Just about any greens you typically eat may be grown as microgreens; familiar favorites include arugula, beet, cabbage, chard, kale, lettuce, mustard, radish, spinach, and turnip. There are other plants whose greens may be grown, harvested, and eaten as tasty and nutritious microgreens; this includes amaranth, basil, cauliflower, carrot, celery, chia, parsley, pea, sunflower, and more. Growing a variety is a good idea as each plant type provides its own unique flavor and health benefits.
Growing Microgreens
Microgreens are grown densely in a shallow tray and are harvested when young and tender. They are sophisticated, tasty, super healthy, and beautiful, adding additional color and texture to salads, sandwiches, stir-fries, juices, soups, garnishes, and more. As a side note, growing microgreens is the perfect way to introduce children to gardening and good nutrition.
Materials
- Seed
- Soil
- Tray
- Spray Bottle
- Scissors
In the tray size of your choice, place about an inch of pre-moistened seed starter mix, evenly smoothing it out. Generously scatter or sprinkle your chosen microgreen seeds, in a single layer, on the soil’s surface. Cover the seeds with a very thin layer of the potting soil and mist with water to ensure that the seed is well moistened, being careful not to over-water. As microgreens are a quick turnaround crop, fertilization is not necessary; Coast of Maine® Sprout Island Blend™ Seed Starter provides everything required for growing great greens.
Place the seeded tray in a sunny location or under grow lights. Covering the tray with a clear dome or plastic wrap will help retain soil moisture but must be removed once the seeds germinate. After the clear covering is removed, ensure adequate air circulation.
With fresh water, mist the maturing microgreens a couple of times a day to keep the soil moist but not wet. Turnaround time is as little as three days after seed germination, depending on the plant.
Allow greens to grow to 2 to 4 inches tall and harvest with clean scissors.
Harvested microgreens should be stored in the same manner as full-sized greens and will last just as long in the refrigerator.
Plant a new tray every week for a continuous supply of nutritious greens.
No matter where you live and grow, microgreens can be considered an affordable, quick, easy, and nutritious year-round crop.